Create a Google Account

1. Login to the Admin Portal
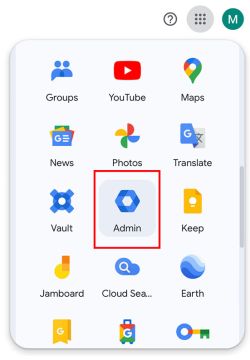
To manage accounts, we will first need to access the admin portal. To do so, visit Google's homepage and click on the menu dropdown in the upper-right hand corner. From there, look for the 'Admin' app.
To access the Admin Portal, you need to be logged in to an account with admin privileges. Double check your login to make sure you're in the correct account!

2. Access the User Directory
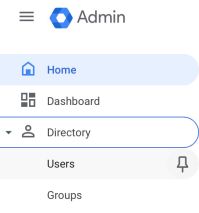
On the left-hand side of the screen is your Admin toolbar. Near the top is the Directory menu.
Clicking on a menu reveals multiple sub-menus. Since we want to add a user account, we will be accessing the user directory by clicking on Users underneath the Directory menu.
3. Add a user to the appropriate organization
From the user directory, you will need to select the appropriate organization for the new user account. There are three simple steps to ensure this is done correctly.
Selecting an org-unit for new accounts
- Click on
Users from select organizational unitsfrom the upper left side. - Find the appropriate org-unit from the list on the left and click on it to select it.
- Click on
Add new userfrom the top of the page.
4. Create the user account
When adding a new user, you will be prompted to input their first name, last name, their email address (along with the appropriate domain) and to generate a password for the account.
Please see our formatting conventions for creating Staff and Student emails in Google
5. Create a password for the account
Right below the above fields is a blue link that reads Manage user's password, organizational unit, and profile photo
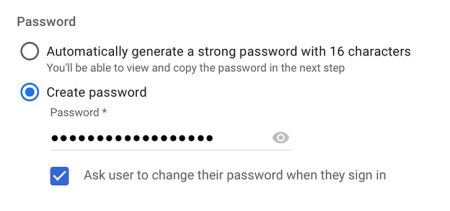
Click on that link to expand the password options. Upon doing so, you will be presented with the option to create a password for the new user. Click on Create password and generate a password for the new account with the Ask user to change their password when they sign in option checked.


