Add a Printer
How to install Printers to your device
Managing multiple printer installations can be a hassle.
To alleviate this, we have created a tool to make the act of installing, removing and managing your printer installs as easy as possible.
1. Launch the 'Add a Printer' utility
On your desktop, look for an icon that resembles a printer with a '+' sign next to it.
This application will assist you with your printer installation.
2. Select the Printer that you want to install
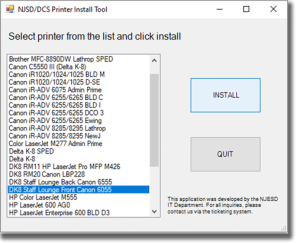
Upon launching the utility, you will be presented with a list of printers available on our network.
Highlight the printer you want to install by clicking on it from the list, and then simply click on 'Install' to begin the installation.
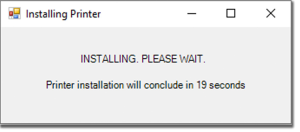
3. Wait for the printer to be installed
The utility will now reach out to our print server, where it communicates your request.
4. Setting it as your default printer
Upon a successful install, the utility will ask you if you wish to set this new printer as your default printer.
This means every print job will default to this printer, unless you choose to print somewhere else.
You can change your default printer at any time.
5. Add additional printers
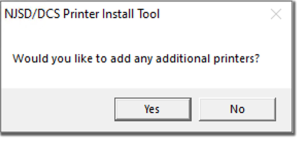
At the end of an install, the utility will ask you if you want to install any additional printers.
If you wish to do so, click 'Yes' and start another install. If you're done, simply click 'No'.


